This is Part 5 of 5 in Zetifi's UHF Blog Series — The Ultimate Buyer's Guide to UHF Radios & Antennas (2026 Edition). Part 4 covered UHF channels, etiquette, and regulatory compliance.
A poor install undoes the work of a good radio. RF physics is predictable, so most install mistakes are avoidable once you know what to look for. Need a hand? Find a certified installer near you.
Mounting Location: Bullbar vs. Roof vs. Bonnet
The Roof
Technically, the centre of the roof is king. It gives a perfect 360-degree signal pattern — height equals range.
Pro: Maximum performance.
Con: You'll smack the aerial on every car park ceiling and low branch.
The Bullbar
The bullbar is the Aussie standard for good reason. It's a compromise, but a practical one.
Pro: Protects the antenna, easy to reach.
Con: The cab blocks the signal behind you.
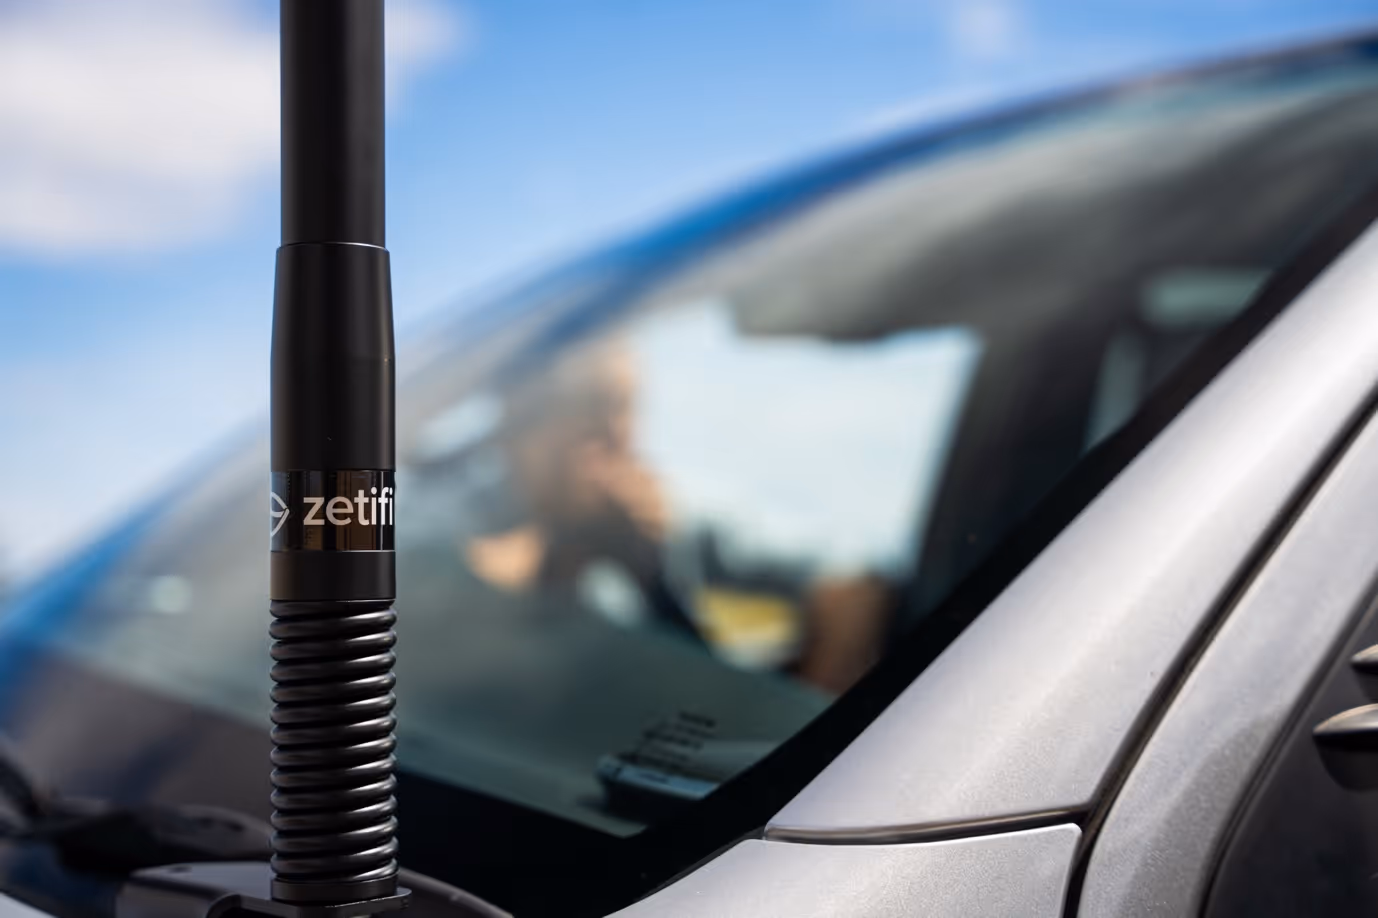
To fix the bullbar issue, use an elevated feed antenna. This lifts the "active" part of the antenna above the bonnet line. If it sits too low, your bonnet acts like a mirror, reflecting signal back and distorting your pattern. If you're tight on space, a Combo Smart Antenna condenses UHF and cellular onto one mount and keeps things tidy.
The Bonnet
A clean, modern mounting option that's becoming more common on newer vehicles. It sits low and off to the side, keeping things discreet.
Pro: Out of the driver and passenger line of sight, neater look on modern vehicles, less risk of hitting car parks or low branches. Installation is simple and doesn't require roof access.
Con: Lower mounting height can reduce range compared to roof setups. The vehicle body can also cause some signal shadowing depending on placement.
To get the best performance from a bonnet mount, use an elevated feed antenna to lift the active element above the bonnet line and minimise signal reflection.
Rule of thumb: Whichever you choose, get the tip of the antenna above the roof line.
Cabling and Power
Power Supply: Go straight to the battery.
- Use fused cables on both positive and negative.
- Never use the cigarette lighter circuit. It's "dirty" power full of alternator whine and interference.
Coax Cable Management
- Don't Coil It: Coiling excess cable creates an RF choke. It strangles the signal strength.
- Figure-Eight: If you have slack, lay it in a loose figure-eight pattern.
- Watch the Firewall: Use a grommet. If the cable rubs on metal, water gets in, wicks up the copper, and rots your cable from the inside out.
Ground Planes
Antennas need something to push against — typically your vehicle's metal body. Ground-dependent antennas like magnetic base units need that metal contact to work properly. Zetifi antennas are ground independent with the counterpoise built in, so you can mount them on a tab, a mirror bracket, or a composite bar and they perform fine. Mounting on a solid metal bar still helps shape the signal forward, so it's worth it if the option is there.
Maintenance and Troubleshooting
UHF systems are tough, but vibration destroys everything eventually.
1. The "Wiggle Test"
Grab the antenna. Shake it. If the bracket moves, tighten it. A loose bracket kills your ground connection and makes you sound crackly.
2. Check the Coax
Look at the cable where it feeds through the bullbar or firewall. If the black insulation is rubbed through, replace the run. Once copper is exposed, moisture wicks along the braid and degrades the signal path from the inside.
3. SWR Check
Standing Wave Ratio — it measures if your antenna is actually radiating power or reflecting it back into the radio. High SWR blows up radios. Get a tech to check it once a year.
You've reached the end of the series. From understanding why UHF beats mobile coverage in the outback, to choosing the right antenna for your terrain and getting your install done properly — you now have everything you need to set up a system that works when it matters.
Shop UHF Antennas | Shop the Zetifi + Icom UHF Pack | Find a Dealer